5. Automatically Tag Contacts in Salesforce & Sync to Mailchimp
Business Problem

Mailchimp is a great tool for people who are just starting out with email marketing and they currently use Salesforce as their CRM. We have done several implementations of Mailchimp and Salesforce and wanted to provide you with our best practice approach of how to set it up right the first time.
This is Part 5 of how to setup the Mailchimp to Salesforce integration where we will show you how to solve the following business challenge we ran into while implementing Mailchimp for Salesforce. Check out our Mailchimp How To section for additional tips on how to extend this integration.
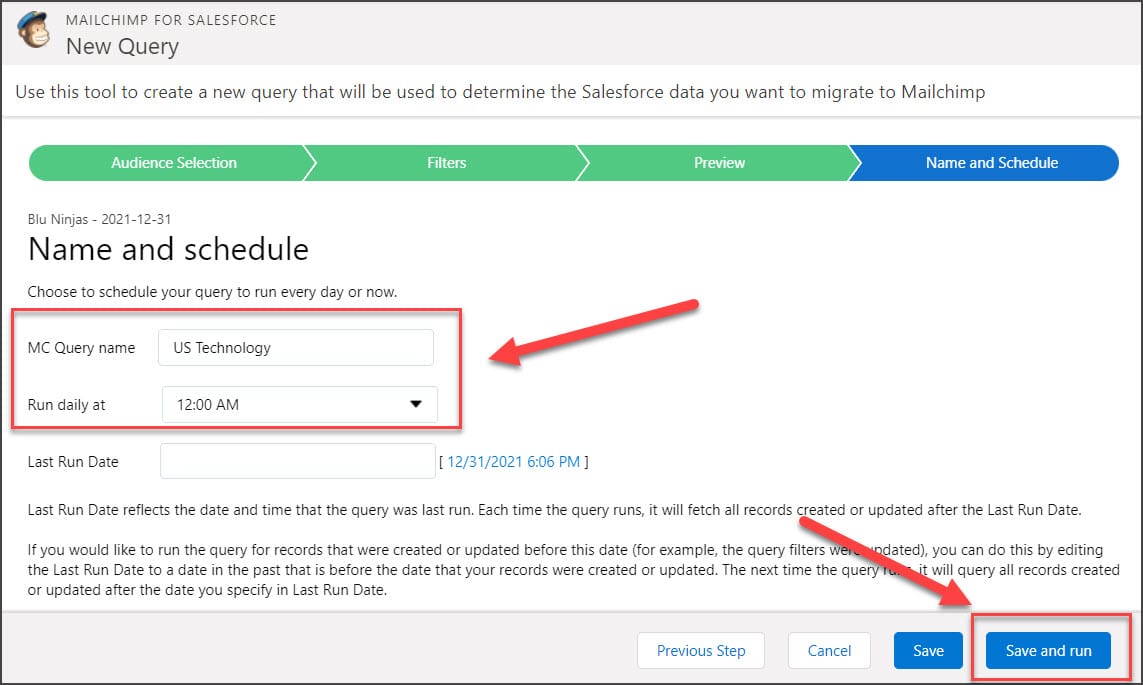
- Automatically Tag Contacts in Salesforce & Sync to Mailchimp - We wanted a way to use information from the Contact's related Account to tag contacts in Mailchimp. We could could have created formula fields on the Contact and synced the fields to Mailchimp, but we ran into challenges with the limitations in the filter criteria in the queries. Remember you also have a 30 field limit in Mailchimp (80 field limit if you have a higher edition). This section will outline the steps we took to set this up and some limitations we ran into with Mailchimp Member Queries.
Or continue on for a short tutorial below.
Note: The video tutorial goes way more in depth.
How to Instructions
Automatic Sync Between Mailchimp & Salesforce - Not Using Campaigns
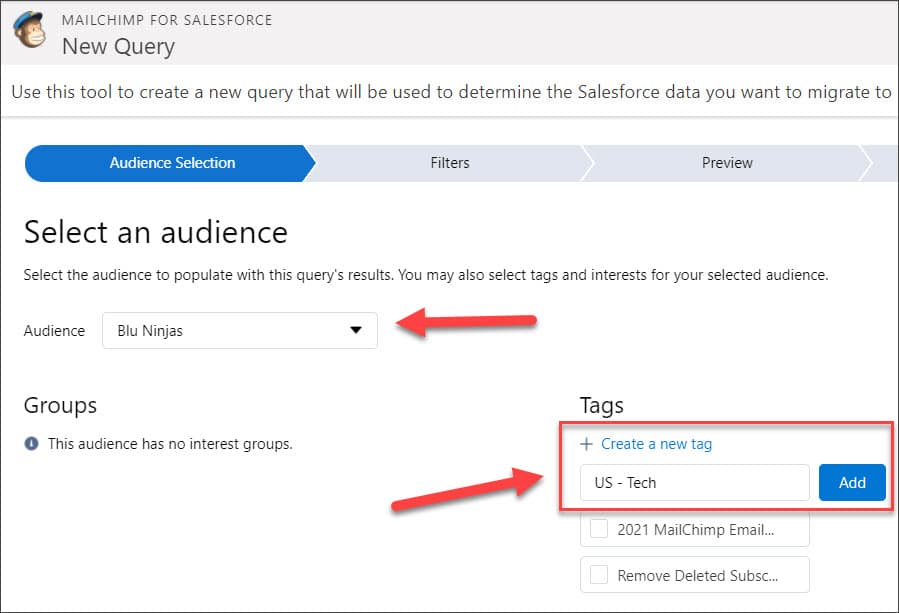
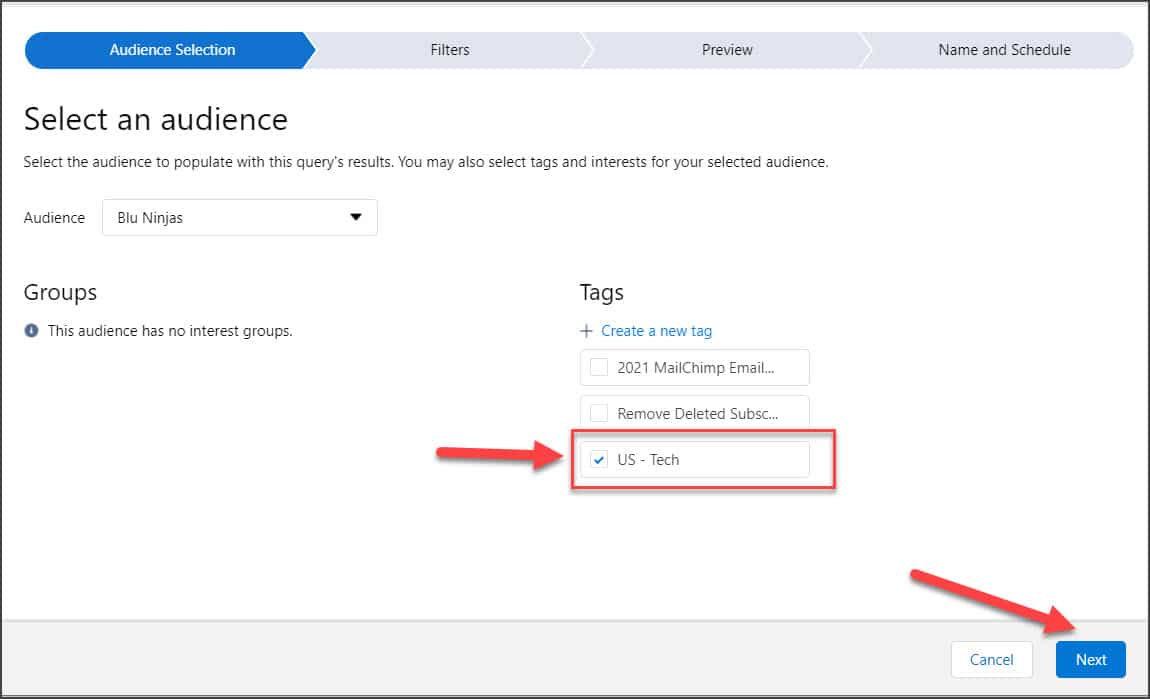
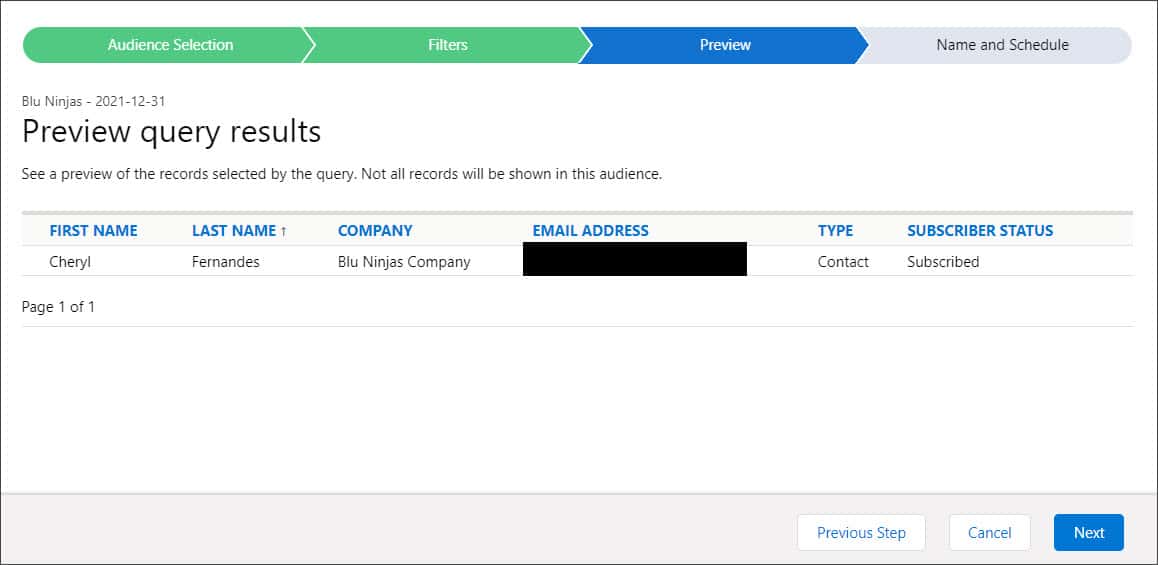
Our objective here is to setup Mailchimp and Salesforce to automatically tag people in Mailchimp without anyone having to do anything in between email sends. Follow these steps for how to complete this process:
First, determine which groups of people you want to sync to Mailchimp. Your groups of people should be easily segmented using fields from the Lead or Contact records or a record related to the Contact via a lookup field. Here are some of examples of groups we setup:
- People in the United States with an Email Address, Undeliverable Email Address = False, Email Opt Out = False, Status = Active, Industry = Technology OR Industry = Professional Services
- People in Canada with an Email Address, Undeliverable Email Address = False, Email Opt Out = False, Status = Active, Industry = Technology OR Industry = Professional Services.
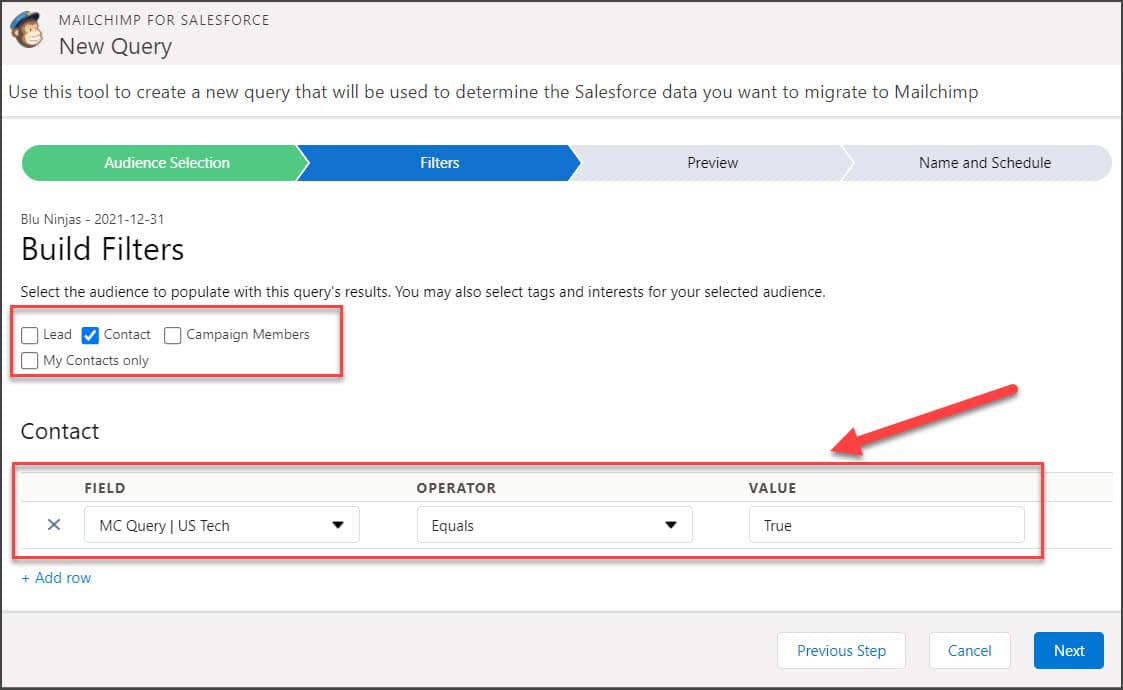
Next, we need to create checkbox formula fields on the Lead or Contact objects - we will use these formula fields in our Mailchimp Query. The reason we are setting up formula fields is because the Mailchimp Query writer is very limited. Here is a list of the issues we ran into:
- Cannot use ANDs or ORs when writing queries - all of the queries are joined with an AND
- Cannot look for multiple values in multi-select picklist fields
- Cannot look for multiple values in picklist fields. We would have had to write a query for each combination of filters we were looking for.
- Could not use fields from the Account in the filters
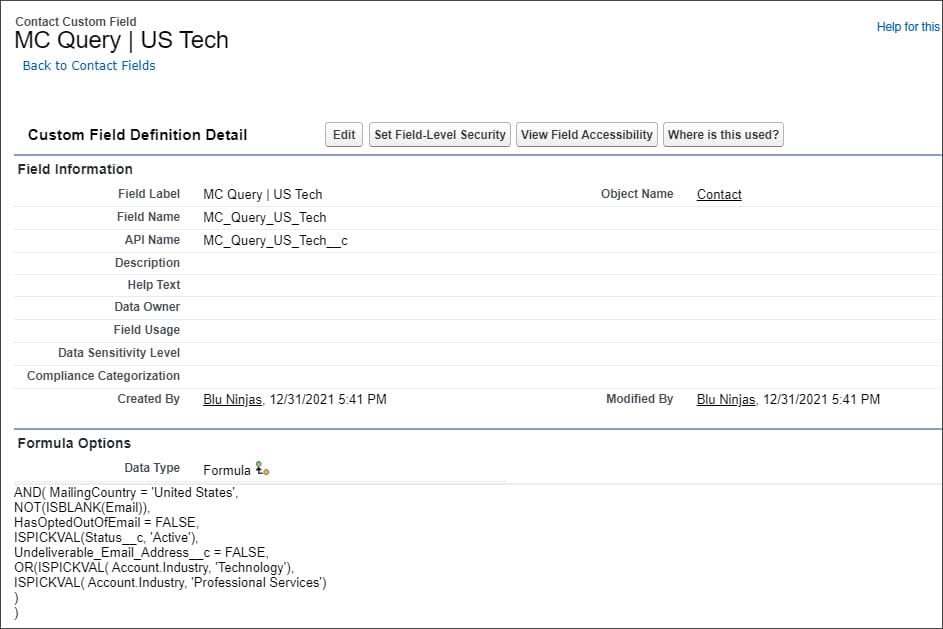
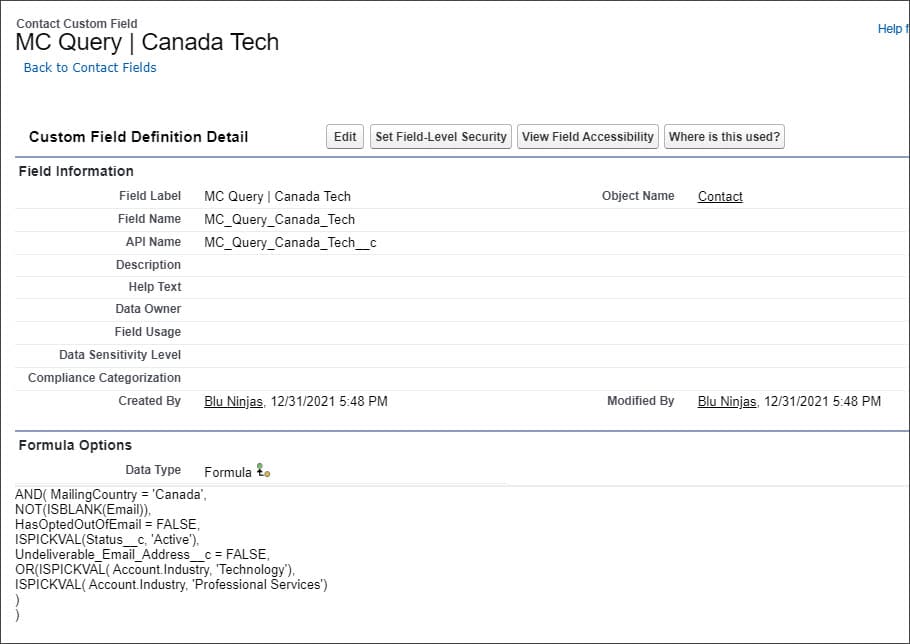
Here are examples of the formulas:
AND( MailingCountry = 'United States',
NOT(ISBLANK(Email)),
HasOptedOutOfEmail = FALSE,
ISPICKVAL(Status__c, 'Active'),
Undeliverable_Email_Address__c = FALSE,
OR(ISPICKVAL( Account.Industry, 'Technology'),
ISPICKVAL( Account.Industry, 'Professional Services')
)
)
AND( MailingCountry = 'Canada',
NOT(ISBLANK(Email)),
HasOptedOutOfEmail = FALSE,
ISPICKVAL(Status__c, 'Active'),
Undeliverable_Email_Address__c = FALSE,
OR(ISPICKVAL( Account.Industry, 'Technology'),
ISPICKVAL( Account.Industry, 'Professional Services')
)
)
For any questions, comments, concerns – let us know in the comment section below!
We would love to hear from you!
