4. Update Unsubscribes in Mailchimp when a Contact is Unsubscribed in Salesforce
IMPORTANT UPDATE:
As of June 2024, we learned Mailchimp delisted their AppExchange package - BUT you are still able to download the free app if you have the link. In its place is a new paid app branded as the "OFFICIAL MAILCHIMP SALESFORCE INTEGRATION". This article is about the old free app from Mailchimp, not the new paid app. Also, be advised that any enhancements, flows, custom fields, etc that you add to the objects in the free app will not 'transfer' over to the new paid app. The paid app uses all new custom objects and everything will have to rebuilt on these objects. Check out Blu Tiger Academy for the latest information we have on the apps.
Business Problem

Mailchimp is a great tool for people who are just starting out with email marketing and they currently use Salesforce as their CRM. We have done several implementations of Mailchimp and Salesforce and wanted to provide you with our best practice approach of how to set it up right the first time.
This is Part 4 of how to setup the Mailchimp to Salesforce integration where we will show you how to solve the following business challenge we ran into while implementing Mailchimp for Salesforce. Check out our Mailchimp How To section for additional tips on how to extend this integration.
- Unsubscribe Contact in Mailchimp when they are unsubscribed in Salesforce:
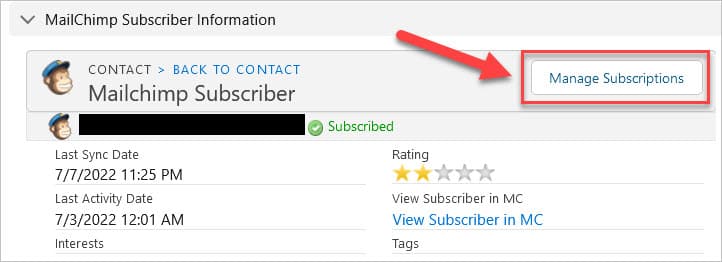
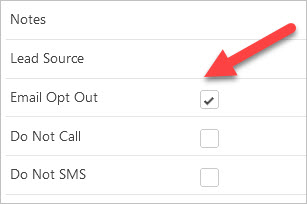
- There is a way to Unsubscribe a Contact from Mailchimp inside Salesforce using the Manage Subscriptions button on the Visualforce page in the Mailchimp package. This will unsubscribe the Contact in Mailchimp and then update the Email Opt Out field in Salesforce.
- BUT...if you have any fields that trigger a process to update Email Opt Out = True, then you need to build a special solution for your users. In our scenario, users update a field called Do Not Contact = True and this automatically updates the Email Opt Out = True. Then the Mailchimp integration will not sync this update from Salesforce because it blocks all Contacts from the query that have Email Opt Out = True. If you do not have any scenarios like this to solve for, you can use the Manage Subscription button successfully. If you do, keep reading...
- There is currently not a way to update Mailchimp when a Contact is updated to have Email Opt Out = True. This is because the Mailchimp sync does not allow you to query on the Email Opt Out field at all and you are unable to sync an unsubscribed Contact to Mailchimp. This article will show you how to work around this issue and let you users opt people out from Salesforce successfully regardless of the scenario.
Or continue on for a short tutorial below.
Note: The video tutorial goes way more in depth.
Please Note
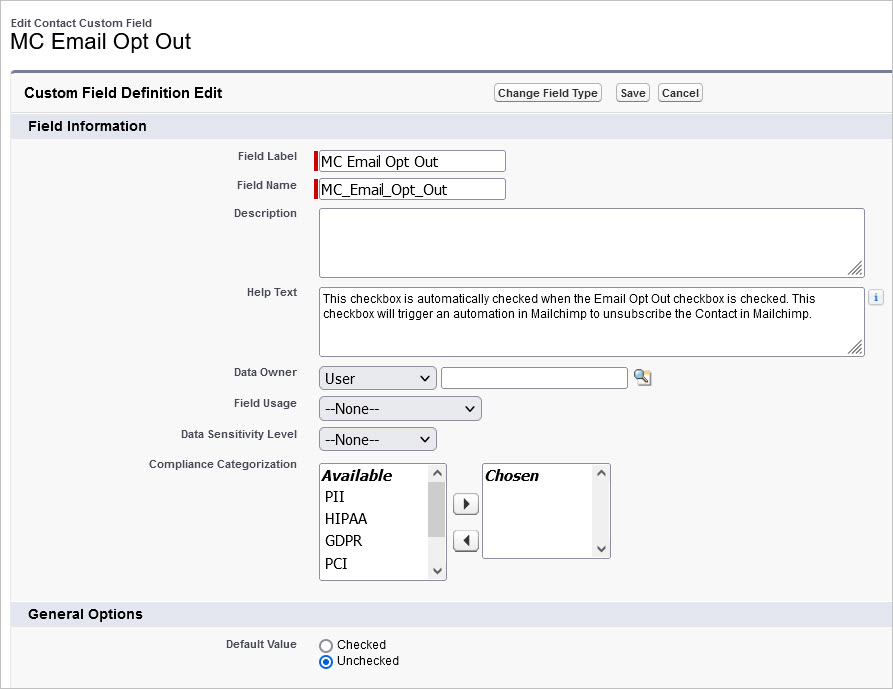
If you choose to use this solution, your users will need to update a new custom email opt out field ONLY. You should not give them access to edit both the Email Opt Out field and the custom field. We created a new field called MC Email Opt Out. You can always change the field label to be Email Opt Out and keep the API Name = MC_Email_Opt_Out__c if the name is confusing your users.
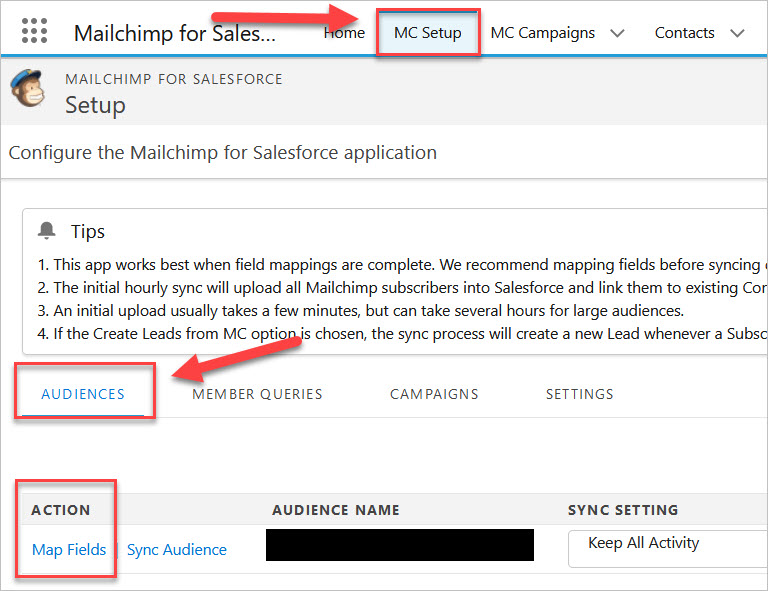
If you implemented the Part 2: Mailchimp to Salesforce Integration - Update Unsusbcribes in Salesforce, you will need to follow the instructions below to update a couple of steps in that automation.
How to Instructions
How to Unsubscribe a Contact in Mailchimp if they are Unsubscribed in Salesforce
Our objective here is to setup Mailchimp and Salesforce to automatically unsubscribe people in Mailchimp when a Salesforce user unsubscribes a Contact in Salesforce. We also want to make sure any automations that update the Email Opt Out field will also work successfully.
First, we need to create a new checkbox field called MC Email Opt Out on the Contact object. You will want to remove the standard Email Opt Out field from the page and have your users use this new field only.
IMPORTANT: If you have any automations that are updating the Email Opt Out = True, you will need to change these to update the MC Email Opt Out = True instead.
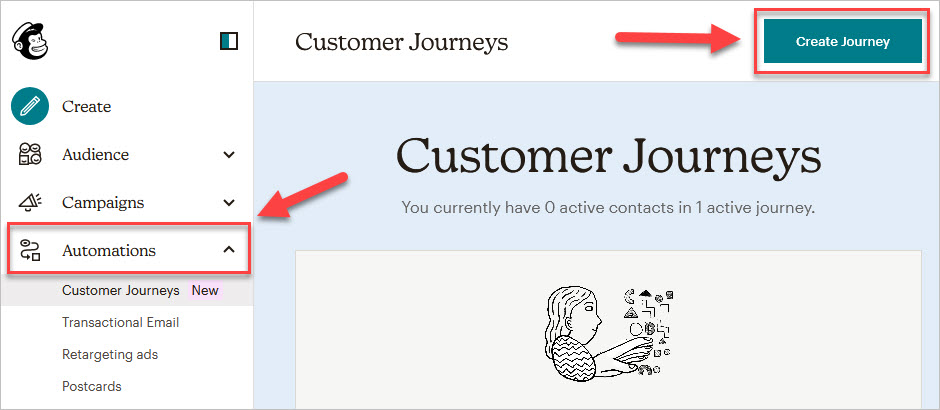
- Login to Mailchimp
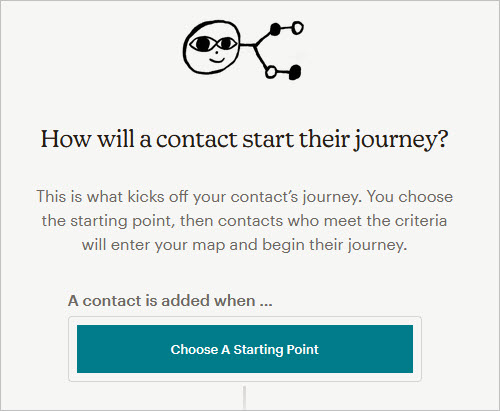
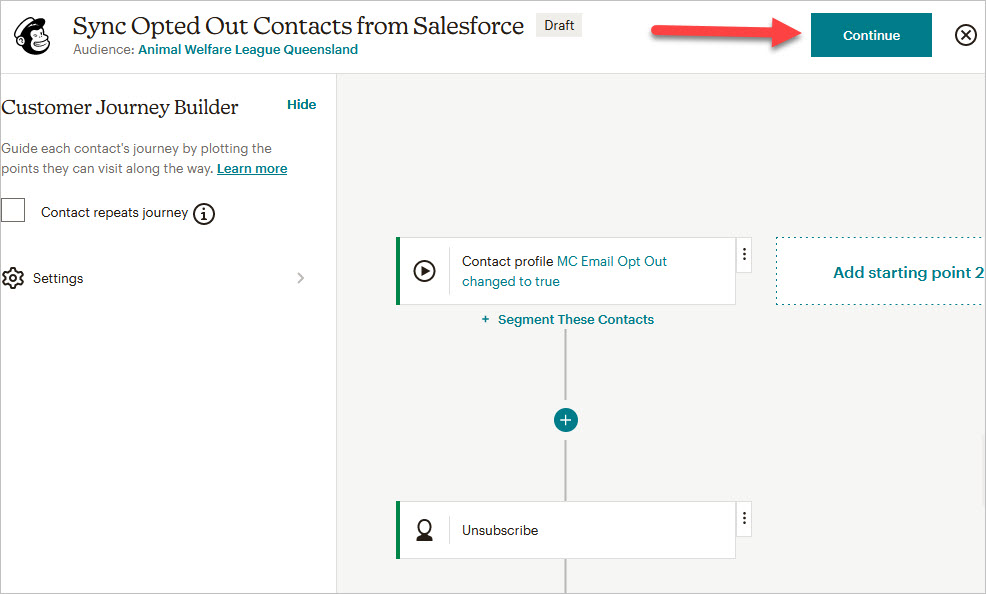
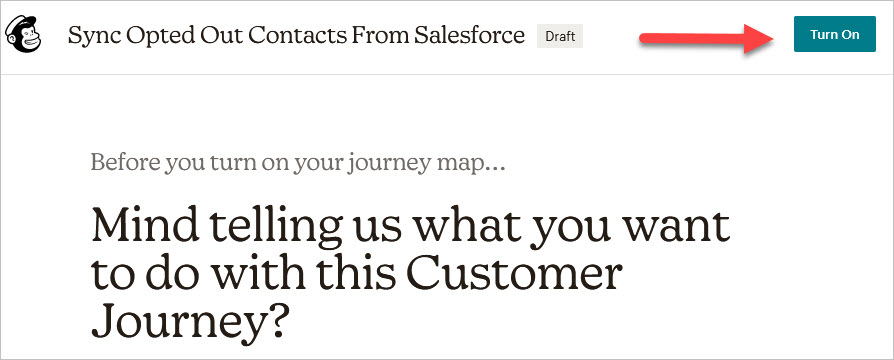
- Go to Automations -> Create Journey
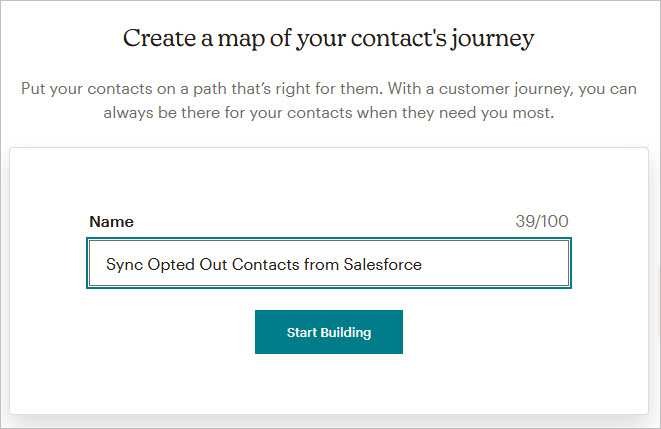
You may be presented with a screen of template choices, choose to build your own.
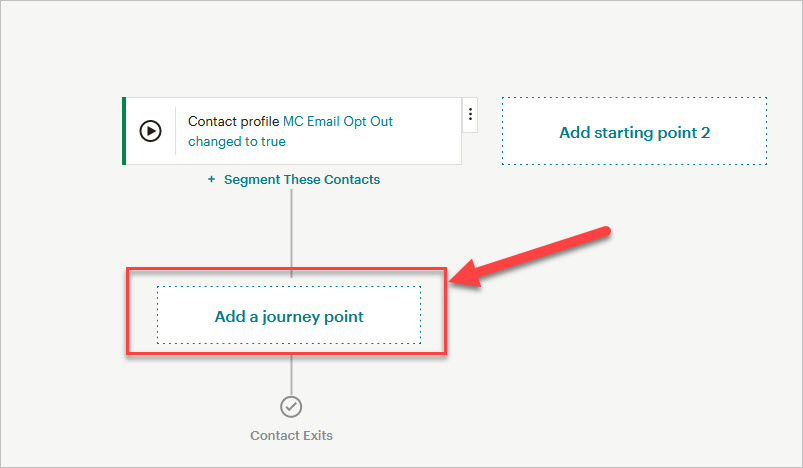
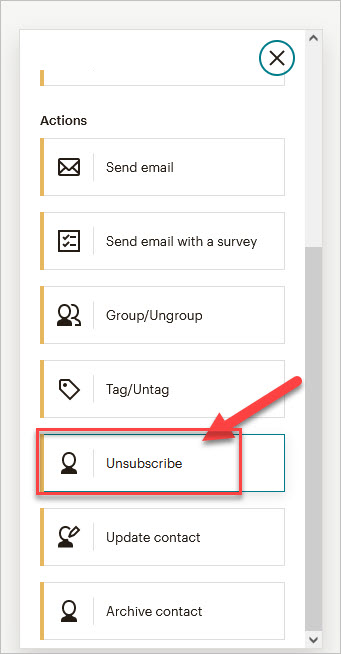
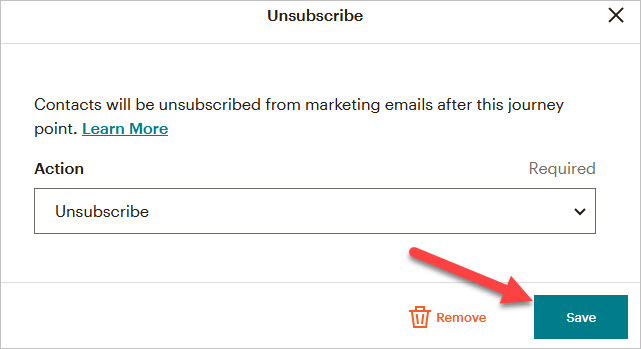
- Select Contact Activity -> Audience field changes
How to Test the Automation
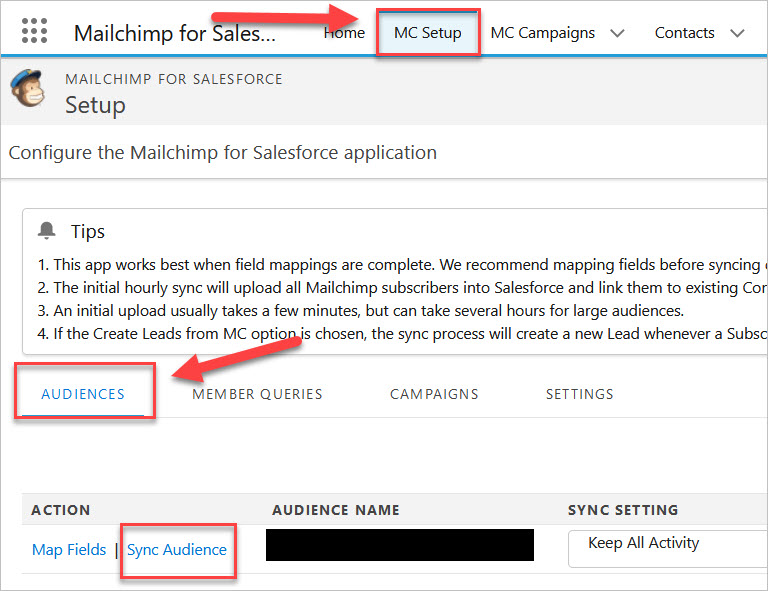
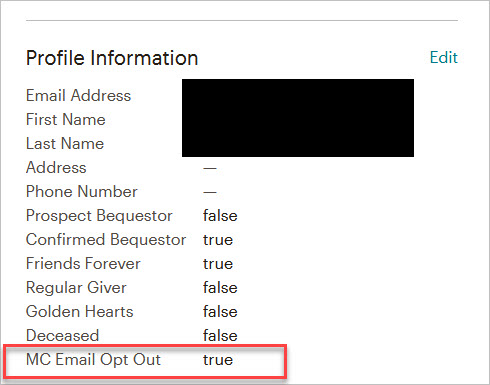
- Go to Salesforce and confirm the contact you modified has Email Opt Out = True.
Congratulations, you have just automated unsubscribes from Salesforce to Mailchimp! Don't forget to make sure your users only use the MC Email Opt Out field. Remember to update any automations you had that were updating the Email Opt Out = True, you will have to change those to update the MC Email Opt Out = True instead - then let Mailchimp update the Email Opt Out field with the sync back to Salesforce.
For any questions, comments, concerns – let us know in the comment section below!
We would love to hear from you!
Share This Story, Choose Your Platform!
How to Update Part 2 - Update Unsubscribes in Salesforce
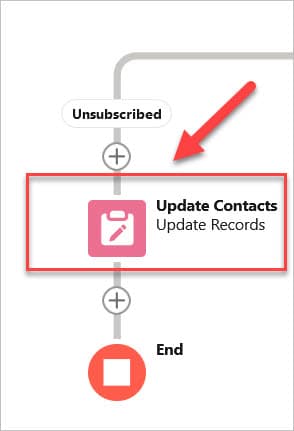
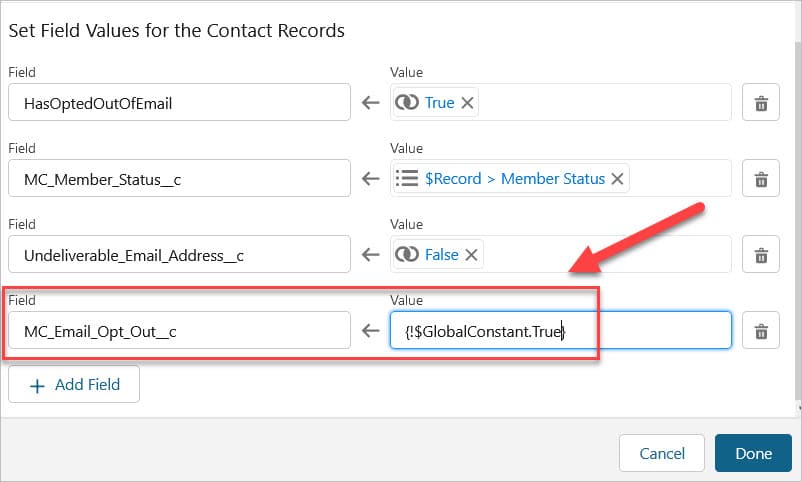
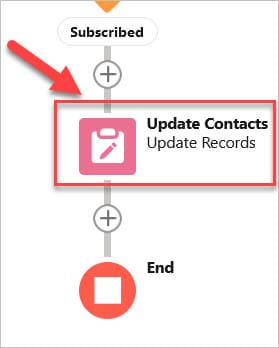
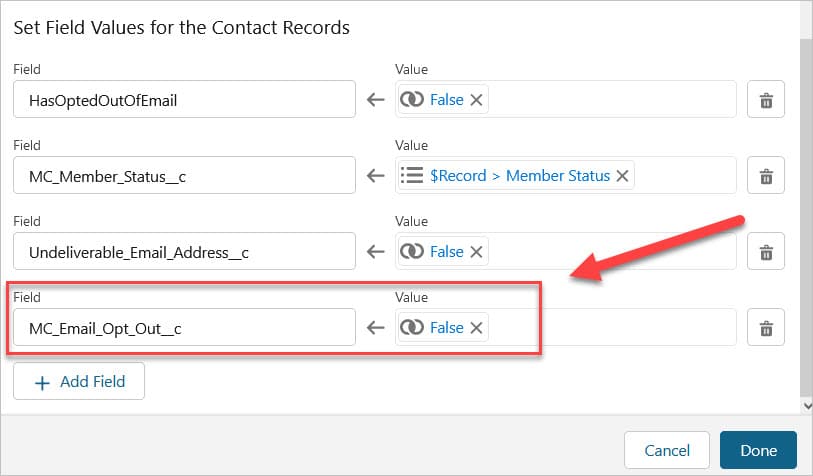
If you implemented the Part 2: Mailchimp to Salesforce Integration - Update Unsusbcribes in Salesforce and you are using automation in this article, you will need to follow these steps to update the Part 2 automation to accommodate this new field.
- Save this new version of your flow. Debug it to make sure it is working properly. Then you are ready to Activate it!
